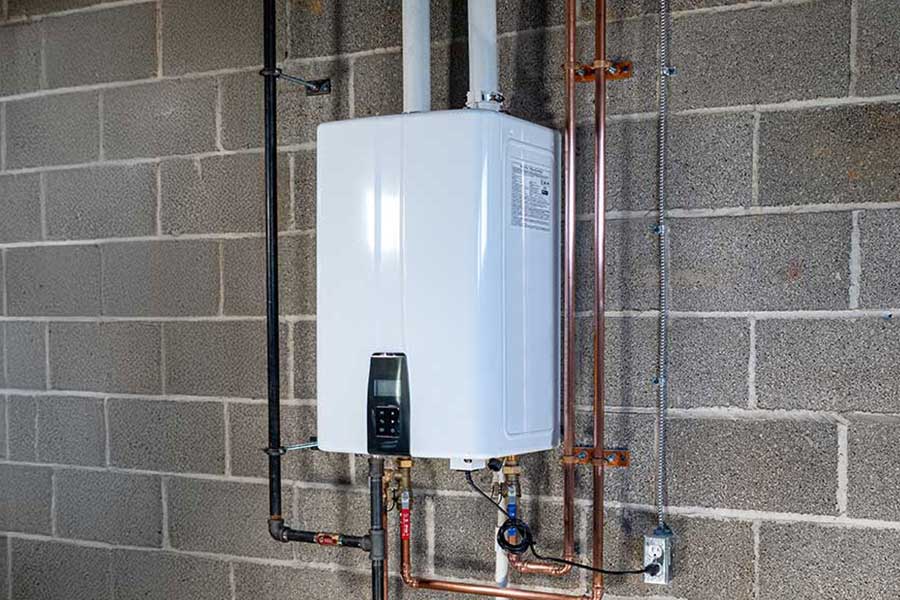
If your water heater isn’t working, it can be frustrating and inconvenient. First, you’ll want to check a few key components, like the thermostat settings and heating elements. These issues often have straightforward solutions. However, deeper factors are at play if those checks don’t resolve the problem. Understanding these can save you time and prevent further damage. Let’s explore the common causes and effective fixes.
Understanding Your Water Heater System
Understanding your water heater system is essential for maintaining efficiency and preventing costly repairs. Familiarize yourself with the key components: the tank, heating element, thermostat, and pressure relief valve. Each part plays a critical role in ensuring hot water delivery. Check the tank’s insulation to minimize heat loss, and regularly inspect the anode rod for corrosion—this helps prolong the tank’s life. You should also monitor the thermostat settings; an ideal temperature of 120°F balances comfort and energy efficiency. Flushing the tank annually can remove sediment buildup, promoting better performance. By grasping these fundamentals, you empower yourself to troubleshoot minor issues and enhance your system’s reliability, ultimately providing consistent hot water for those you serve.
Common Causes of Water Heater Failure
While various factors can lead to water heater failure, certain issues are more common than others. A malfunctioning heating element is a frequent culprit, especially in electric water heaters. If the element burns out, it can’t heat the water effectively. Sediment buildup in the tank can also hinder performance, reducing efficiency and potentially causing damage. In addition, a faulty thermostat may prevent the heater from reaching the desired temperature. Leaks are another concern, often stemming from corrosion or loose connections, leading to water loss and reduced heating capability. Finally, inadequate power supply—whether due to tripped breakers or faulty wiring—can leave your heater non-functional. Addressing these issues promptly guarantees reliable hot water for your needs.
Checking the Thermostat Settings
How often do you check your thermostat settings?
Regularly reviewing these settings is essential for optimal water heater performance. Start by locating the thermostat on your unit; it’s usually near the heating elements. Confirm the temperature is set between 120°F and 140°F for efficiency and safety. If it’s set too low, your water won’t heat adequately, while a setting that’s too high can pose risks of scalding and energy waste. Adjust the temperature as needed, and ensure any adjustments are properly saved. After making changes, wait a few hours to assess if the water temperature improves. Further investigation may be necessary if issues persist, but checking the thermostat is a critical first step in troubleshooting.
Inspecting the Heating Elements
After checking the thermostat settings, the next step is to inspect the heating elements. Start by turning off the power to the water heater to avoid any electrical hazards. Remove the access panels covering the heating elements, which are typically located at the bottom and top of the tank. Look for visible signs of damage, such as corrosion or burn marks. To check for continuity, you’ll want to test each element with a multimeter. A reading of zero indicates a faulty element that needs replacement. Clean any mineral buildup that may affect performance if the elements are intact. Reassemble the panels and restore power once you’ve completed your inspection. This guarantees your water heater operates effectively for those you serve.
Assessing Power Supply Issues
Before diving deeper into the water heater’s functionality, assessing the power supply issues that may impede its performance is vital. Start by checking the circuit breaker; if it’s tripped, reset it and see if that resolves the problem. Next, inspect the power cord for any visible damage or loose connections. If your water heater operates on gas, verify the gas supply is on and the pilot light is lit. A faulty thermostat can also disrupt power flow, so confirm its settings and functionality. If you’re still facing issues, consider using a multimeter to test the voltage at the outlet, ensuring it meets the required specifications. Addressing these power supply concerns is essential for restoring your water heater’s efficiency.
Identifying Sediment Buildup
Have you noticed a decrease in your water heater’s efficiency or water quality?
Sediment buildup could be the culprit. Over time, minerals like calcium and magnesium settle at the bottom of your tank, insulating the heating element and causing it to work harder. This not only affects heating efficiency but can also lead to premature wear. To identify sediment, listen for rumbling noises when the heater operates, which indicate trapped steam bubbles. Additionally, check for discolored or cloudy water, signaling mineral presence. Regularly flushing your water heater can prevent sediment accumulation. If you suspect a significant buildup, consider hiring a professional to assess and clean your system, ensuring peak performance and longevity while providing safe, clean water to those you serve.
Evaluating the Pressure Relief Valve
How can you confirm your water heater operates safely and efficiently?
Start by evaluating the pressure relief valve. This vital component prevents excess pressure buildup, which could lead to tank failure. First, check for any visible leaks around the valve. If you notice water pooling, it’s time to replace it. Next, test the valve by lifting the lever; water should discharge briefly and then stop. If it doesn’t, the valve may be stuck and require replacement. Additionally, consider the valve’s age; they typically last about six years. Regularly inspecting this part not only guarantees safety but also enhances the overall performance of your water heater. Keeping your pressure relief valve in good condition is fundamental for safe operation.

Examining the Anode Rod
The anode rod is essential in prolonging your water heater’s lifespan. It’s designed to prevent corrosion by attracting harmful minerals and sediments that would otherwise damage the tank. You should check the anode rod every couple of years. If it’s heavily corroded or depleted, replace it immediately to guarantee your water heater operates efficiently. To inspect it, turn off the power and water supply, then remove the rod using a socket wrench. A healthy anode rod will be covered in a thin layer of corrosion, while a depleted one may be less than half its original diameter. Regular maintenance of this component can save you from costly repairs and extend the life of your water heater.
Considering Age and Wear of the Water Heater
Regularly inspecting the anode rod helps you understand the overall condition of your water heater. If your heater’s over a decade old, wear and tear can significantly impact its efficiency. Look for signs of corrosion, rust, or mineral buildup, as these indicate the unit’s declining performance. If the tank’s leaking or making unusual noises, it’s likely time for a replacement. Pay attention to the warranty as well; most water heaters last 8 to 12 years. Keeping track of your unit’s age and maintenance history will guide your decision-making. By addressing age-related issues proactively, you can guarantee reliable hot water service and extend the lifespan of your equipment, ultimately serving your household’s needs more effectively.
When to Call a Professional
While you might handle minor water heater issues yourself, knowing when to call a professional is vital for preventing further damage. If you notice persistent leaks, strange noises, or inconsistent heating, it’s time to seek expert help. These symptoms could indicate serious underlying problems that require specialized tools and knowledge. Additionally, if your water heater is older than 10 years and starts malfunctioning, a professional assessment is essential to determine whether repair or replacement is more cost-effective. Don’t attempt to diagnose complex electrical issues or gas leaks; these can pose safety hazards. By calling a professional, you guarantee that your water heater is serviced correctly, maintaining both efficiency and safety for your household.
Conclusion
In conclusion, if your water heater isn’t heating, start by checking the thermostat and inspecting the heating elements. Verify the power supply is stable and assess the pressure relief valve and anode rod for issues. Don’t forget to consider your unit’s age, as wear can affect performance. If these steps don’t resolve the problem, consult a professional to guarantee safe and effective repairs.
Frequently Asked Questions
How Long Does a Typical Water Heater Last?
A typical water heater lasts about 8 to 12 years, depending on maintenance and usage. Regular inspections and timely repairs can extend its lifespan, ensuring you provide reliable hot water for your home or service.
Can Hard Water Affect My Water Heater’s Performance?
Yes, hard water can significantly affect your water heater’s performance. Mineral buildup reduces efficiency, leading to longer heating times and potential damage. Regular maintenance and descaling can help maintain peak performance and extend the unit’s lifespan.
What Are Signs of a Failing Water Heater?
You’ll notice inconsistent water temperature, strange noises, and leaks. Additionally, you might see rust or corrosion. If you experience these issues, addressing them promptly is crucial to guarantee reliable hot water service.
Is It Safe to Use Hot Water During Repairs?
Using hot water during repairs isn’t safe. You risk scalding yourself or causing further damage. It’s best to turn off your water heater and wait until repairs are complete before using hot water again for safety.
How Can I Improve My Water Heater’s Efficiency?
To improve your water heater’s efficiency, insulate the unit and pipes, set the temperature to 120°F, perform regular maintenance, and flush the tank annually to remove sediment buildup. These steps enhance performance and reduce energy costs.